Everything you need to install before building your first 3D city digital twin
Digital Twin Foundations (Part 1): Where Cities Learn, Think, & Evolve
If you read the previous blog, you now understand what digital twins are and why they matter for modern cities. Now we move one step forward — from theory to hands-on practice.
Before we install and use 3DCityDB, one of the world’s most widely adopted open-source platforms for managing 3D city models, it’s important to understand the software components you’ll need.
This guide breaks down each requirement in simple terms:
By the end, you’ll have a complete checklist ready for installing your first 3DCityDB environment.
A database is basically a smart, organized digital cupboard where you store information so that you can easily search it, update it, sort it, or analyze it whenever you need.
Think of it like this:
It’s like having a librarian who instantly knows:
Imagine you have a city with:
Putting all of this in one file (like a spreadsheet or XML file) would quickly become unmanageable.
It would be:
But in a database?
You can instantly ask questions like:
And you get answers in seconds, not hours.
📌 Another Simple Analogy: Your Phone Contacts
Your phone’s Contacts app is a tiny database.
It stores:
If you search “Amit,” it instantly finds Amit — even if you have 2,000 contacts.
That’s the power of a database: fast, organized retrieval.
Now imagine the same idea, but instead of 2,000 contacts, you have 2 million building components.
That’s exactly why city-scale digital twins use databases.
3D city models like CityGML are extremely detailed. A single building might include:
If you store this in a simple file, it becomes huge and slow.
A spatial database like PostgreSQL + PostGIS:
This is why 3DCityDB exists — it gives cities a powerful way to store, manage, analyze, and export complex 3D city models efficiently.
3DCityDB is one of the most important open-source technologies in the world of 3D city modelling and digital twins. At its core, it is a database schema and toolkit designed specifically for storing, managing, querying, and exporting CityGML-based 3D city models. While many tools can view or draw 3D buildings, very few can store and manage large-scale semantic city models efficiently — and that is exactly where 3DCityDB stands out.
Developed originally by the Chair of Geoinformatics at the Technical University of Munich (TUM), along with virtualcitySYSTEMS and M.O.S.S., 3DCityDB has grown into a global standard. Cities like Berlin, New York, Rotterdam, Zurich, and Singapore have used it to manage their 3D city models internally or to power public digital twin portals.
What makes 3DCityDB special is that it treats a city not merely as geometry but as a semantic structure: buildings with roofs, walls, functions, heights, LODs, attributes, and relationships. All of this detail is stored inside a relational database (PostgreSQL/PostGIS or Oracle), which allows the city model to behave like a living dataset rather than a static 3D file.
Think of it as the central brain of your 3D city digital twin. It allows you to:
This makes 3DCityDB a foundational tool for digital twins, urban planning, city-scale simulations, and web-based 3D visualization.
Traditional 3D formats (OBJ, glTF, shapefiles) are excellent for visualization but fall short when you need to:
A typical CityGML dataset may contain hundreds of thousands of objects, each with detailed geometries, attributes, hierarchies, and metadata. Storing this in files becomes slow, messy, and impossible to query efficiently.
3DCityDB solves this by providing:
It is essentially the backbone of many large digital twin initiatives around the world.
Here’s what you can achieve once 3DCityDB is set up:
Store a full 3D city model — Buildings, terrain, surfaces, appearance data, bridges, tunnels, vegetation — everything goes into structured database tables instead of giant XML files.
Query the city like a dataset — You can run SQL queries such as:
This makes it powerful for planners, researchers, and digital twin developers.
Import and export complex datasets — Using the Importer/Exporter tool, you can move data between: CityGML, KML, COLLADA, glTF, 3D Tiles (for Cesium), and Spreadsheets (with plugins). This makes 3DCityDB extremely versatile — you can prepare datasets for web visualization, simulations, BIM workflows, and more.
Visualize the city on the web — The Web Map Client lets you load your exported 3D model into a Cesium-based viewer directly in a browser, enabling: interactive navigation, attribute exploration, public dashboards, and digital twin prototypes. It runs locally or on any server with minimal setup.
In the age of smart cities and digital twins, cities generate enormous amounts of spatial data. 3DCityDB offers a stable, well-documented, and free foundation for:
Its combination of semantic detail, scalable storage, and open standards makes it one of the most future-proof solutions available.
Before we begin working with 3DCityDB, we’ll need a sample dataset to practice with. For this and further tutorials, we’ll use a training package provided by the 3DCityDB team. It contains everything we need: a CityGML file from Berlin, folders for storing exports, and a simple local web server for visualizing results later in the course. You can download the dataset from the link below:
👉 Download tutorial data:
https://www.3dcitydb.de/3dcitydb/fileadmin/TUM_Workshop/RTG_Schulungskurs_2016.zip
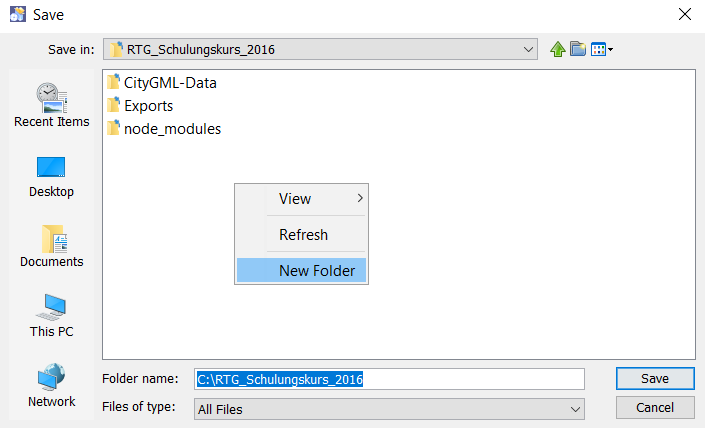
Once the ZIP file finishes downloading, extract the contents into the following directory :
C:\RTG_Schulungskurs_2016
After unzipping, your folder structure should look similar to the one shown in the tutorial screenshot. Here’s what each part of the directory is for:

When extracted correctly on Windows, the folder will contain several key components that we’ll use during the tutorial:
By setting up these folders beforehand, your entire workflow — from importing data into 3DCityDB to exporting visualizations and generating spreadsheets — will stay organized and easy to navigate.
3DCityDB is not a standalone app — it relies on a set of supporting software components.
Now that you have a quick overview of the tools involved, let’s begin with the first building block: Java.
Java is a widely used programming language that enables applications to run on various operating systems. Many geospatial tools—including the 3DCityDB Importer/Exporter—are built using Java because of its stability, portability, and powerful runtime environment.
Why does 3DCityDB need Java?
The Importer/Exporter tool of 3DCityDB is a Java-based application. That means it cannot run unless your system has a Java Runtime Environment (JRE) installed. Without Java, the Importer/Exporter tool simply won’t open.
✔ 3DCityDB relies on Java
✔ Java provides the runtime needed to execute the tool
✔ Every OS (Windows, macOS, Linux) must install Java before proceeding

Follow these steps to install the correct Java version for your system.
java -version
If installed correctly, you’ll see something like:java version "1.8.x"

With Java in place, the next crucial component is the spatial database that powers the entire 3DCityDB environment.
Before we install anything else, it’s important to understand that 3DCityDB runs entirely on a spatial database. This database is where every building, geometry, texture, and semantic attribute will live. Without a proper database engine, 3DCityDB simply cannot function.
PostgreSQL is a popular open-source relational database. Think of it as the “brain” that stores all the CityGML objects — buildings, surfaces, roofs, terrain, windows, and even metadata.
PostGIS adds support for geometry, 3D coordinates, spatial indexing, and spatial queries. 3DCityDB relies heavily on these features, especially when working with CityGML files containing thousands (or millions) of geometries.
3D city models are far more complex than simple 2D GIS shapefiles. A typical CityGML file may contain:
Storing all this inside an XML or GIS file quickly becomes inefficient. A spatial database solves several issues:
✔ Efficient storage for large models — CityGML datasets of real cities easily reach several gigabytes. A database handles this scale smoothly.
✔ Spatial indexing-To retrieve a single building or a specific coordinate location, the database uses R-Tree spatial indexes — much faster than reading entire files.
✔ Fast querying-You can run SQL queries like:
✔ Semantic relationships-Buildings aren’t just shapes — they have attributes. PostgreSQL + PostGIS stores all those relationships cleanly and efficiently.
✔ Free and widely supported — Although 3DCityDB also supports Oracle, PostgreSQL is the easiest and most widely used option in the community.
You can download all required components from the official sources:
📥 Download PostgreSQL/PostGIS:
📥 Download pgAdmin (optional, GUI tool):
Go to the PostgreSQL download page.

Select your operating system and click 'Download the installer'.
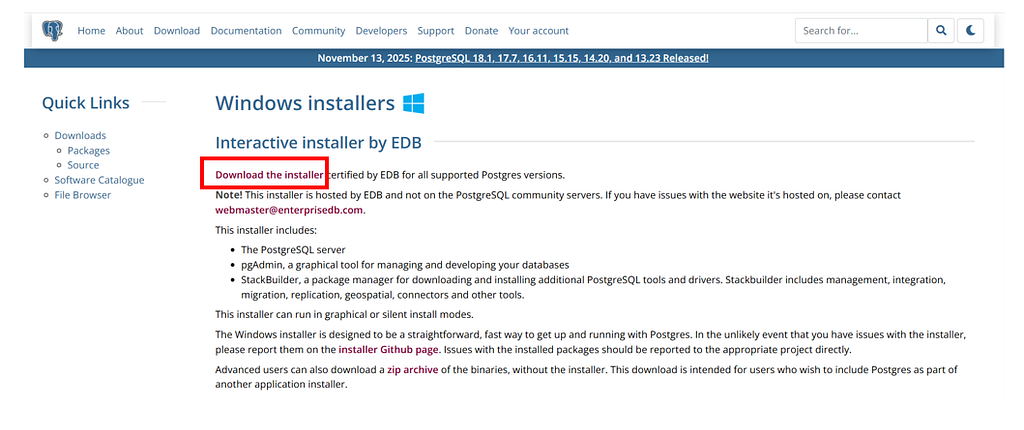
Download the file (e.g., postgresql-18.1–1-windows-x64.exe).

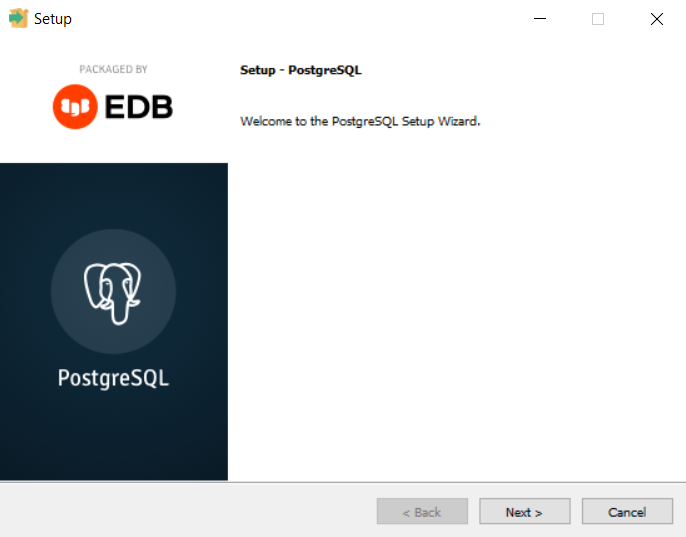
Double-click the installer to install PostgreSQL in your system.
Click Yes on the User Account Control window. Continue through the setup with default options.


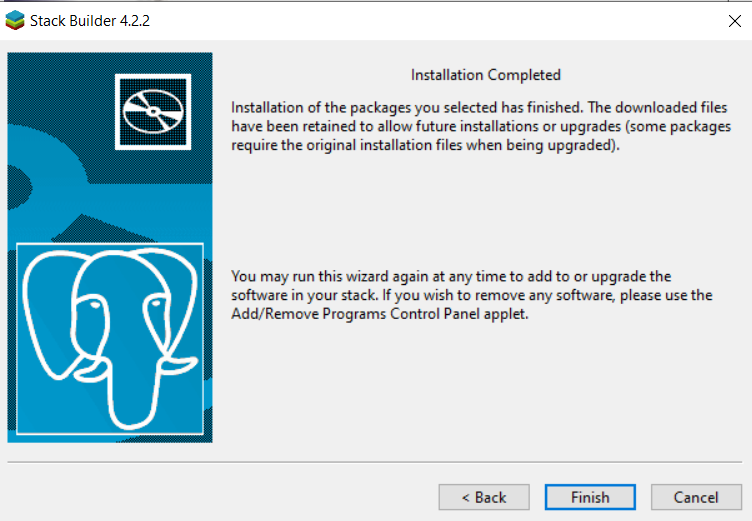
After installation, click Finish. The StackBuilder window will open.
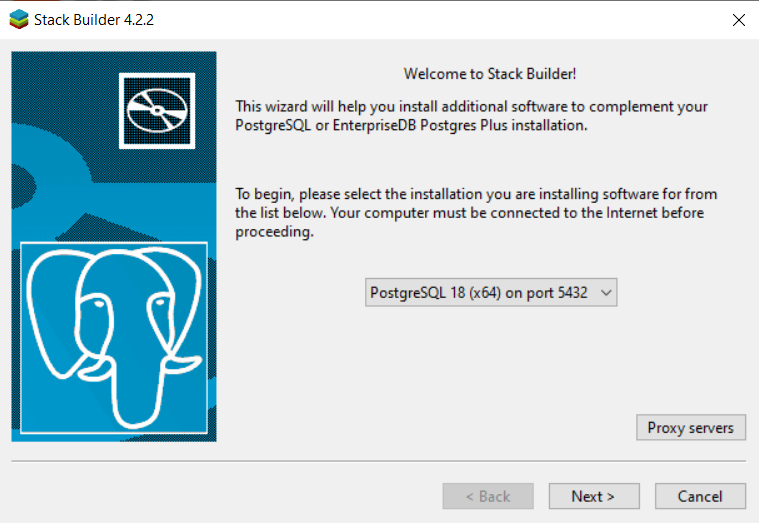
Click Next to install additional components.
Expand Spatial Extensions and check PostGIS 3.6 Bundle for PostgreSQL 18.

Complete the installation with default options.

Visit the pgAdmin download page. Select Windows.
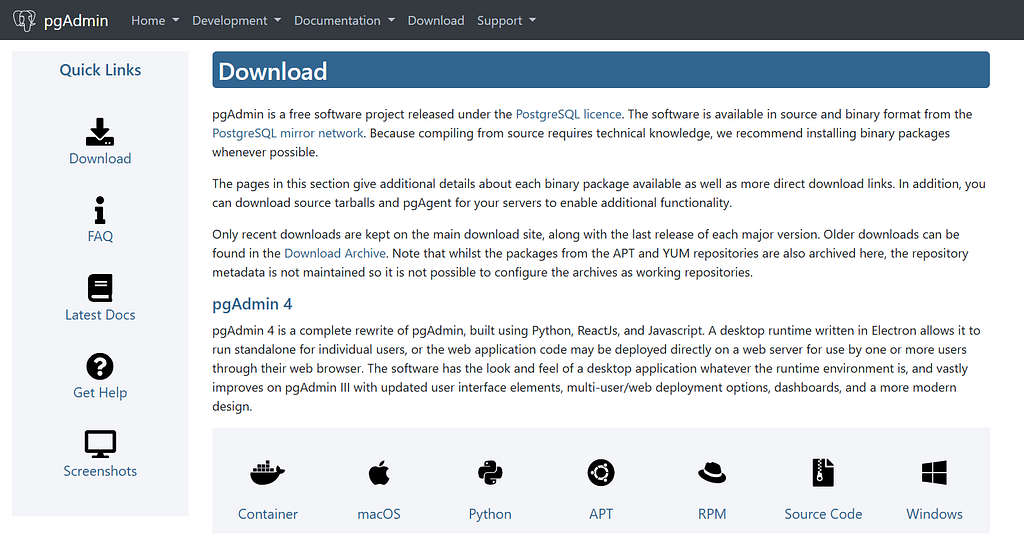
Download and install normally — no special configuration needed.

This will download the .exe installer. Double-click and install it.
PostgreSQL + PostGIS is the foundation of everything you will build in this tutorial series. Once your spatial database is ready, you can begin creating your 3DCityDB instance, importing CityGML datasets, and exploring your first digital twin.
Before the database can understand CityGML, we need to prepare it with the right structure, which is where the 3DCityDB SQL scripts come in.
These scripts create the entire CityGML schema inside PostgreSQL.
Why is it needed?
PostgreSQL cannot understand CityGML by itself. The scripts:
Note: If you install the Importer/Exporter (next step), the scripts come bundled automatically. No need for separate installation.
📥 Download scripts:
https://www.3dcitydb.org/3dcitydb/downloads/
The next step is to bring data in and out of the system — this is where the Importer/Exporter becomes your main interface.
The Importer/Exporter tool is the workhorse of the entire 3DCityDB environment. Once your database is ready, this is the application that actually moves data in and out of the system. Whether you want to load a CityGML dataset into PostgreSQL or export your 3D city model into formats like KML, COLLADA, or glTF for visualization, this tool handles it all.
Unlike many GIS/BIM tools that hide their internal processes, the Importer/Exporter gives you full control over how CityGML objects are validated, stored, textured, and exported. If you plan to do anything serious with CityGML, this tool becomes essential very quickly.
You will use the Importer/Exporter tool whenever you need to:
In practice, the Importer/Exporter becomes the “control room” for interacting with your 3D city database. A few reasons this tool is at the center of any 3DCityDB workflow:
Download link -
Release v4.1.0 · 3dcitydb/importer-exporter
Getting the tool is straightforward:

2. Once you open the page, scroll down to the Releases section and look for Version 4.1.0. Under Assets, download the setup file named:
3DCityDB-Importer-Exporter-4.1.0-Setup.jar
This file contains the installer.

4. After the .jar file has finished downloading, simply double-click it to launch the installer. You’ll be greeted with the setup wizard. The first page of the installation wizard looks like the following figure.

Select your preferred language and click on OK. Run the installer and follow the on-screen steps. Click on the Next button to continue the installation process.
On the License Agreement page, you should read the license agreement. Check the radio button — I accept the terms of the license agreement. Click on the Next button to continue the installation process
On the Select Destination Location page, browse to the folder where the tutorial dataset is stored, create a new folder named, and select that folder path as the installation path.

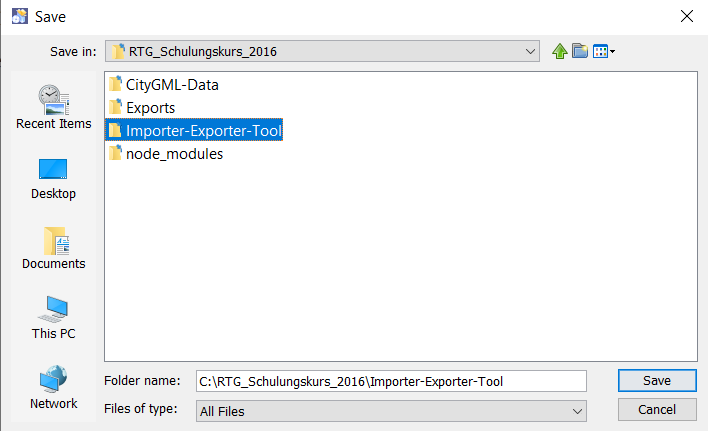

Click the Next button on the wizard.
The installer may ask whether it can create or overwrite a folder — select OK/YES to proceed.
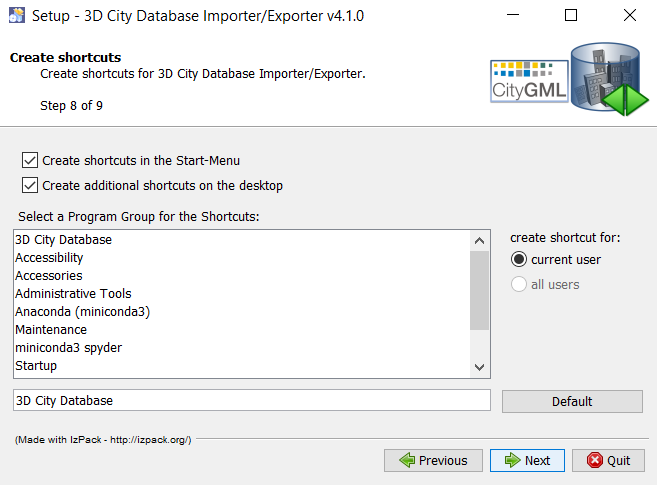
For subsequent steps, keep the default settings and click on the Next button to continue the installation process.
Now, the selected installation packages are going to be installed on your machine.

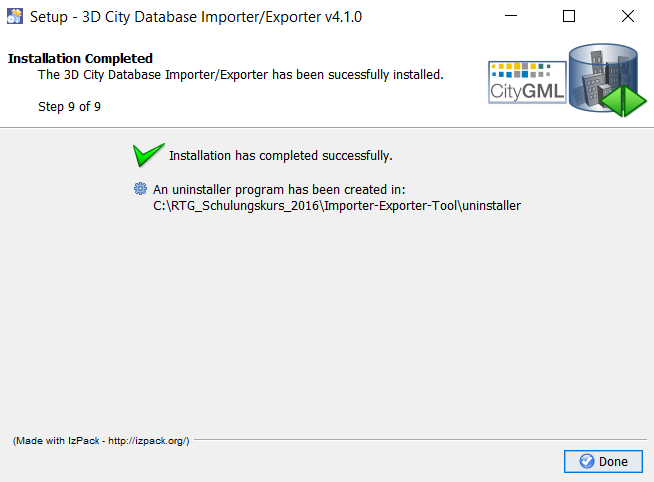
You can now launch the tool directly using the desktop shortcut. A splash screen will appear for a moment before the main interface opens.


The Importer/Exporter window is your command center for interacting with CityGML datasets — importing files, validating them, exporting 3D formats, linking external attributes, and managing your database content. Let's proceed with the next tool…
The Importer/Exporter Tool becomes even more useful when you add plugins, and one of the most practical extensions is the Spreadsheet-Generator Plugin. As the name suggests, this plugin lets you turn the contents of your 3DCityDB database into easy-to-use tables — either CSV files or Excel spreadsheets. This is extremely handy when you want to inspect attributes, share datasets with colleagues, or run analysis in tools like Excel, Python, or Power BI.
The best part is that you don’t have to install it separately. While setting up the Importer/Exporter Tool, the installer would have prompted you with an option to include the Spreadsheet-Generator. Simply enable it, and the plugin becomes available inside the tool right away. If you’re curious about the inner workings or want to explore or modify the code, the plugin’s repository is publicly available on GitHub.
This plugin adds a very practical capability: it bridges the detailed 3D world of CityGML with the familiar tabular world of spreadsheets — making your 3DCityDB projects much easier to examine, report, and share.
📥 Plugin repo:
Once your data is inside the database and ready for export, you’ll eventually want to see your city model, which brings us to the Web Map Client.
One of the most exciting parts of working with 3DCityDB is being able to see your 3D city model in action. The Web Map Client is the tool that makes this possible. It’s a lightweight, browser-based 3D viewer built on top of Cesium, and it allows you to explore your CityGML models interactively — no additional plugins or special software required.
The Web Map Client is essentially a ready-to-use WebGL application that can display 3D buildings, textures, attributes, and geometry stored in your 3DCityDB. It is written entirely in HTML and JavaScript, which means it runs in any modern browser and can be deployed on almost any web server with minimal setup.
Most of your work in 3DCityDB — importing CityGML, creating City Models, exporting data — happens behind the scenes. The Web Map Client brings that work to life. With it, you can:
For workshops, demonstrations, or digital-twin prototyping, this tool becomes indispensable.
The Web Map Client is included in the Importer/Exporter installation, but you can also download it separately:
📥 GitHub Repository:
https://github.com/3dcitydb/3dcitydb-web-map
This repo contains: the full source code, documentation, configuration examples, and instructions for deployment.
If you want to try it without installing anything, the 3DCityDB team hosts a live version:
🌐 Online Viewer:
To run the Web Map Client locally, we need a lightweight server — this is where Node.js becomes essential.
When working with the 3DCityDB Web Map Client, one thing you quickly realize is that the viewer cannot be opened by simply double-clicking an HTML file. Modern browsers block certain features — such as loading local 3D Tiles, textures, or JSON files — unless they are served through a proper web server. This is where Node.js comes in.
Node.js is a lightweight JavaScript runtime that makes it extremely easy to spin up a small local server on your machine. The Cesium team, which developed the underlying viewer, designed a simple JavaScript-based server that runs on Node.js, allowing you to host the 3D Web Client with just a couple of commands.
In the context of this 3DCityDB tutorial, Node.js is essential because it lets you:
Once Node.js is installed, starting the local server becomes incredibly straightforward — you simply run the provided server.js file from the dataset folder, and your browser will open to an interactive 3D view of Berlin's buildings.
Node.js - Run JavaScript Everywhere

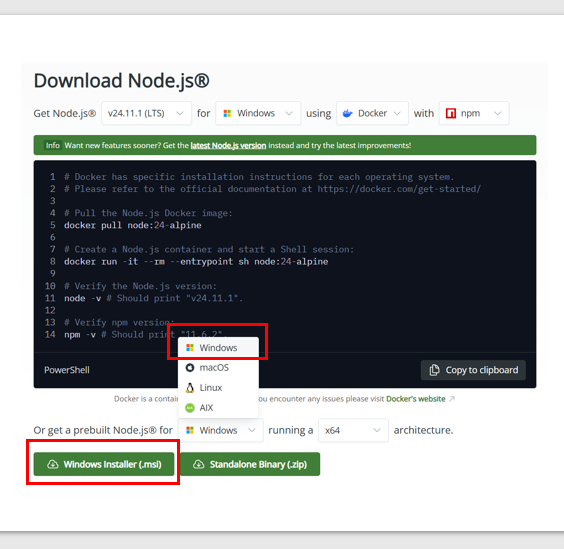
Click on the Windows Installer (.msi) button and download the node-v24.11.1-x64.msi file. Double-click the installer to install it and continue with the instructions as prompted.

Keep the default options and proceed with the installation.
After clicking on Finish, the command prompt window opens automatically. Read the text and then press any key to continue.
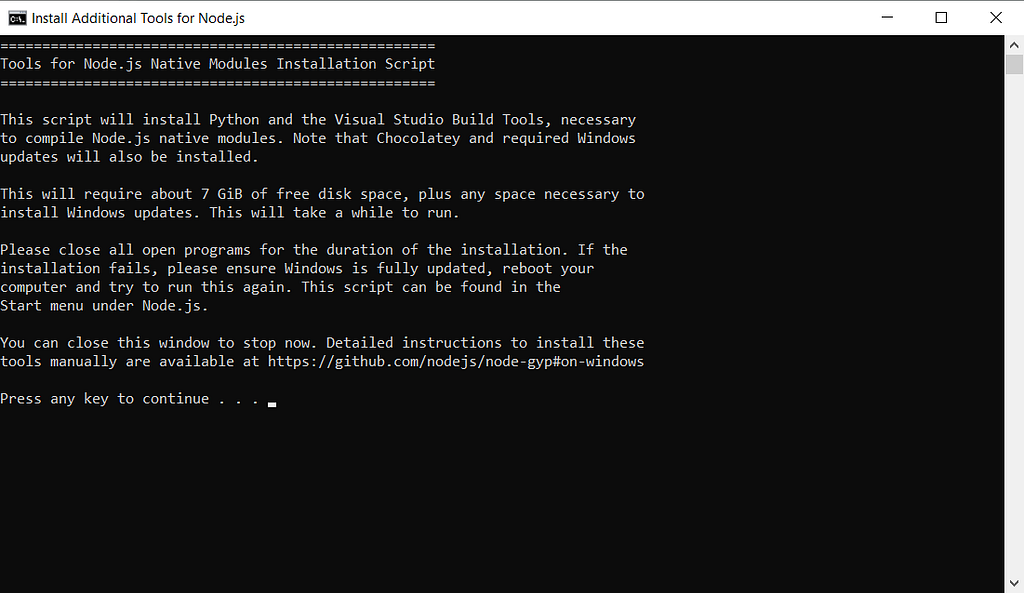

Windows PowerShell opens automatically. Let it run its process completely. It will close by itself.
Finally, to double-check or preview exported files like KML or COLLADA, Google Earth Pro becomes a handy companion.
Although Google Earth Pro isn’t strictly required to run 3DCityDB, it becomes incredibly useful once you start exporting your models. Many of the exercises in this tutorial series involve generating KML or COLLADA output, and Google Earth Pro remains one of the easiest tools to quickly inspect these files.
What makes it handy is that it renders textured CityGML features remarkably well — roofs, facades, and building surfaces appear exactly the way they should, which helps you verify whether the export settings were correct before moving on to more complex steps like tiling or web deployment.
If you’re following along with this tutorial series, it’s worth keeping Google Earth Pro installed. You’ll be using it to double-check exported buildings, walk around the model, and make sure everything aligns spatially.
📥 Download:

Download the installer, double-click it, and follow the on-screen instructions to complete the installation.
With all core components installed, your environment is fully ready. Now we can move on to the exciting part — setting up an empty database for CityGML models.
By now, you’ve walked through every essential component that powers a 3DCityDB environment — from installing Java and setting up PostgreSQL/PostGIS to configuring the Importer/Exporter tool, enabling plugins, preparing the course dataset, and launching the Web Map Client with Node.js.
If you’ve completed all the steps, congratulations: you now have a fully functional foundation for storing, managing, and visualizing 3D city models. Most beginners struggle not because 3DCityDB is difficult, but because the ecosystem around it can feel overwhelming at first. With this guide, you’ve built the entire pipeline piece by piece — and you understand why each tool exists and how they work together.
This is the moment when theory finally meets practice.
In the next part of this tutorial series, we’ll begin using these tools to create your first real database, import the Berlin CityGML sample, and explore it like an actual 3D city digital twin. You’ll learn:
This is where the real fun begins — seeing your city model come alive in the database and inside a 3D viewer.
If you’re enjoying this hands-on series, make sure to follow for upcoming parts, where we’ll dive deeper into 3DCityDB, 3D Tiles, Cesium visualization, and digital twin workflows.
See you in Part 3 — let’s start building your first city! 🏙️🚀
Have a question? Working on a digital twin?
👇 Drop a comment — I’d love to hear what you’re building.
Let’s learn and experiment together. 🚀🌍